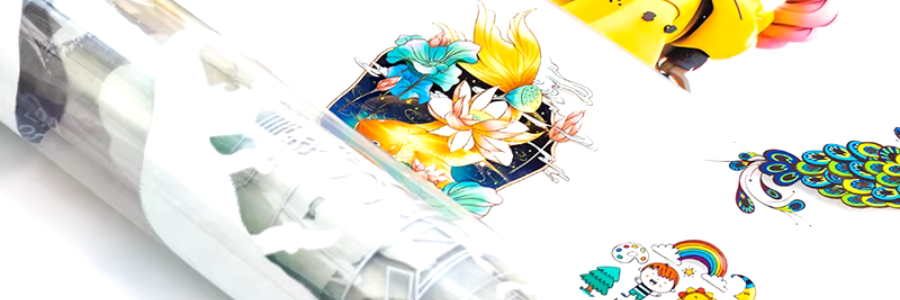
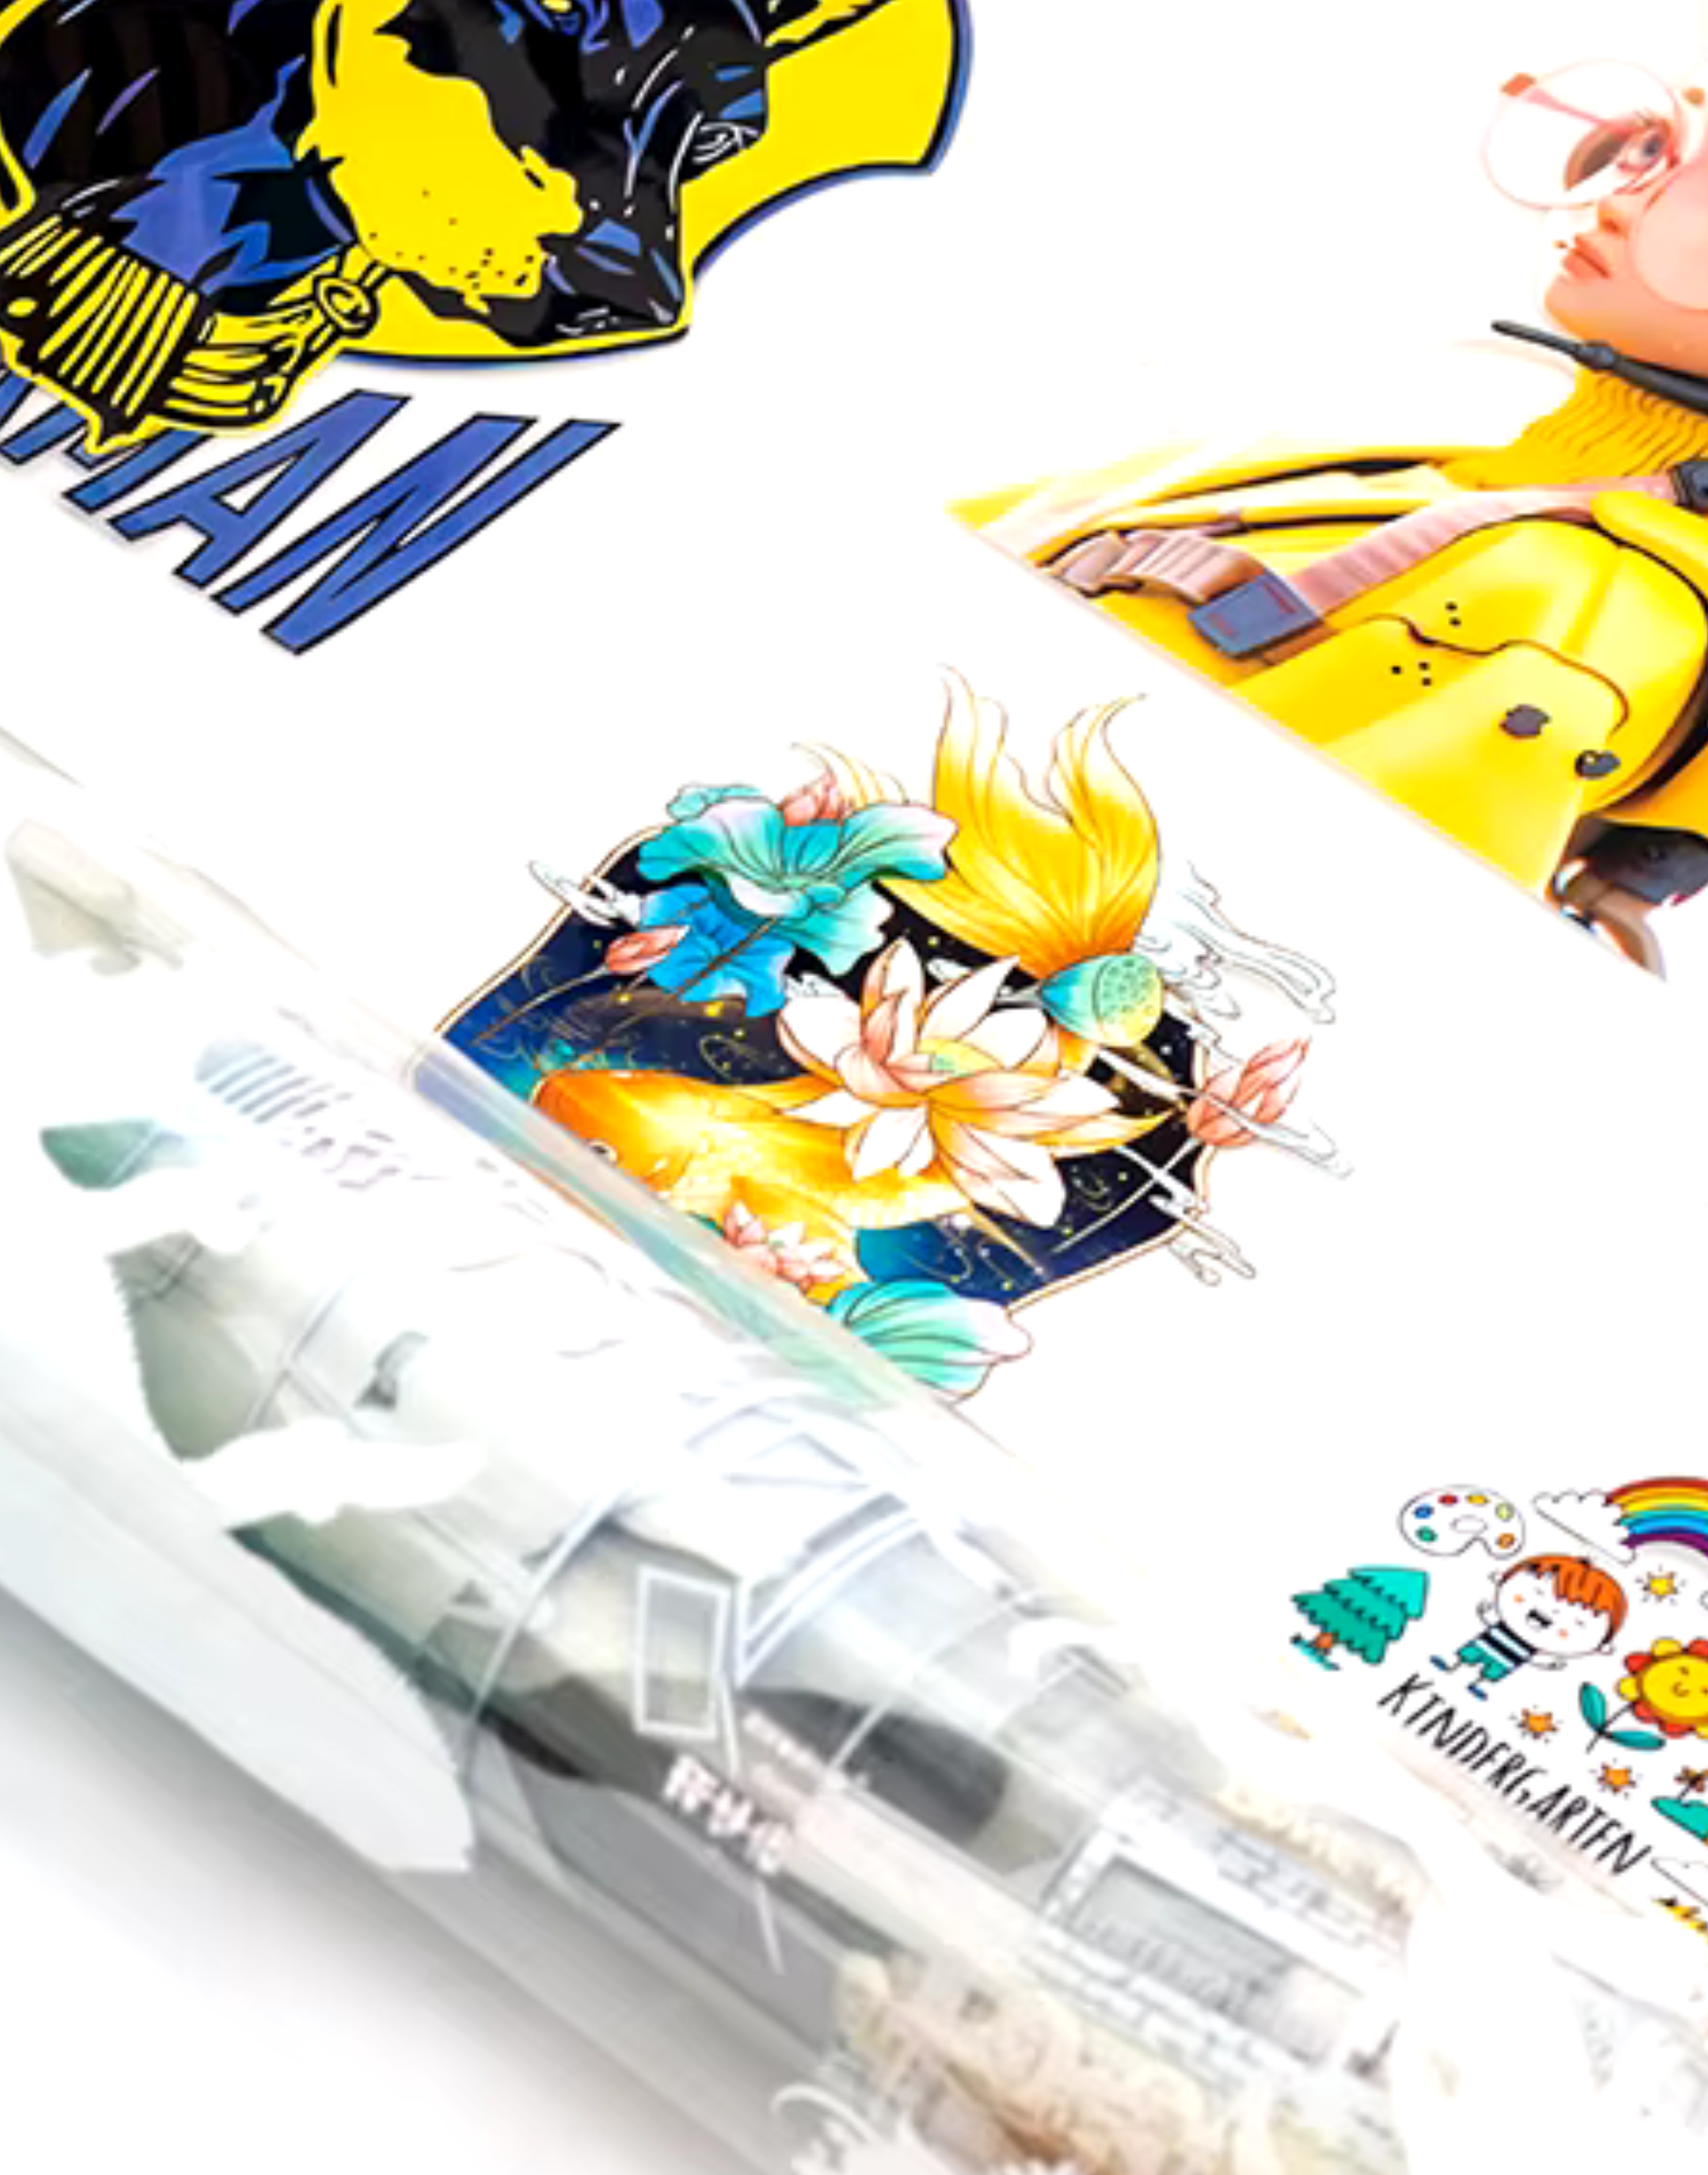
UV DTF Instructions
Each printing company will have different press instructions that yield the best results for their transfers. We provide this information to get the best performance and longevity out of our transfers. Pressing any other way can compromise the life & longevity of transfers.
UV DTF Transfer Instructions
This information is specific to prints you have received from Dead Set Transfers. applying our transfers any other way will impact the quality and in some cases destroy your transfers.
Step 1 - Preparing surface
Firstly you need to ensure the surface is free from dust and grease.
Wipe with alcohol wipe, wash with soapy water and allow to dry, wipe with lint free cloth.
Step 2 - Peel the backing film away
Now that your item is prepped correctly, slowly peel the clear backing film from the UV transfer
Step 3 - Placing the transfer
Carefully line up the transfer in your desired position, take your time as you cannot remove and place it again.
Step 4 - Press
Now press down all parts of the transfer, ensure you have pressed the entire transfer especially the edges. You can use a small squeegee or fingers to do this.
Step 5 - Peel the top film
Now that all of your transfer has been pressed on to your item, slowly peel the top film away.
Take time and caution with fine print, if it lifts with the top film you havent pressed it entirely, lay the
Step 6 - Aftercare
Wait for 24hrs before washing to ensure that the glue is fully cured.
UV DTF transfers are not dishwasher safe nor microwave safe
We are not liable for any mistakes made by the user during the sticker application or DTF transfer pressing process, application-related damages, incorrect sizing, incorrect transfer pressing or damage caused by washing.
*always check your transfers prior to pressing